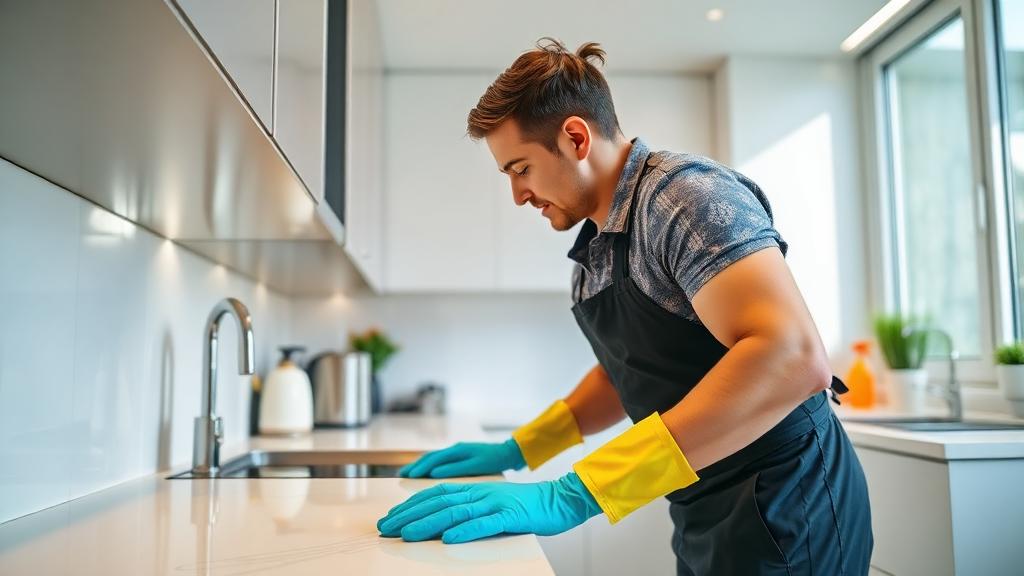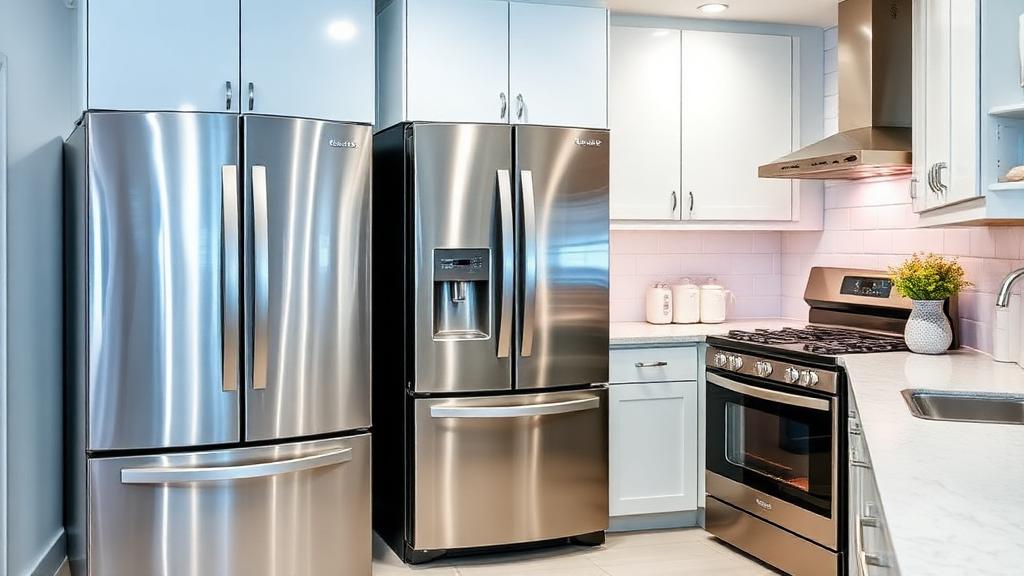
Kitchen appliances rarely fail because they wore out. They fail because the cleaning was wrong, late, or skipped — gasket mildew on the dishwasher, scale in the coffee maker, grease in the range hood that becomes a fire hazard.
This is the right method for each major appliance: the products that work, the products that void the warranty, the dwell times, and the cadence that prevents the problem instead of fighting it.
Before you start
- Unplug small appliances. Always.
- Wipe spills the day they happen — a five-second wipe replaces a five-minute scrub later.
- Read the manual once. Some manufacturers (Bosch, Miele) explicitly void warranties for specific products.
Refrigerator (every 3 months)
The fridge interior is biology lab equipment if you let it be. A real deep clean is 45 minutes.
The sequence:
- Empty completely. Toss expired food. Move keepers into a cooler.
- Pull every shelf and drawer. Wash in warm soapy water; rinse; dry fully.
- Wipe interior walls with a baking-soda solution (2 tbsp per quart of warm water). Avoid bleach — it can damage plastic liners.
- Clean the door gaskets with a toothbrush and soapy water. This is where mildew starts.
- Wipe the exterior, including the top of the unit (skipped in 90% of homes).
- Vacuum the condenser coils (back or bottom). Dust on coils raises energy use 10–25%.
- Check the drip pan if your model has one. Wash, dry, replace.
Maintenance:
- Open box of baking soda inside, swapped every 3 months
- Wipe spills immediately
- Keep the door seal clean — broken seals are the most common silent power waste
Oven (every 3–6 months)
Self-cleaning function
Runs at 800–900°F for 2–4 hours. Remove racks first (they discolour). Once cool, wipe out the ash. Run the kitchen vent and open a window — the smoke can trip alarms.
Manual cleaning (the safer DIY)
Self-clean cycles stress oven electronics and shorten lifespan. Manual cleaning is safer for the appliance.
- ½ cup baking soda
- Water to form a spreadable paste
- White vinegar in a spray bottle
Sequence:
- Apply baking-soda paste across the interior, avoiding heating elements and the bake-element vent.
- Dwell 12 hours minimum (overnight).
- Wipe out most of the paste with a damp cloth.
- Spray remaining residue with vinegar — it will fizz.
- Wipe clean.
- Hand-wash the racks separately in the sink with degreaser.
Skip: Commercial oven cleaner sprays containing lye on self-cleaning ovens — they damage the catalytic surface.
Microwave (weekly wipe, monthly deep)
The steam trick is the only technique you need:
- Bowl with 1 cup water and 2 tbsp white vinegar (or sliced lemon)
- Microwave on high until visibly steaming — about 4 minutes
- Leave the door closed for 5 more minutes. Steam softens everything.
- Remove the bowl carefully (very hot)
- Wipe interior with a damp cloth — grime comes off
For the turntable: dish soap, hand wash, dry. For the control panel: spray glass cleaner on a cloth (never on the panel) and wipe.
Dishwasher (monthly)
The appliance that cleans things needs cleaning. Mildew accumulates in the filter, gasket, and detergent drawer.
Monthly:
- Pull the filter (bottom of the tub). Rinse under hot water. Use a toothbrush on the mesh.
- Wipe the door edges and gasket — the rubber seal harbours mildew first.
- Run an empty hot cycle with 2 cups white vinegar in a top-rack-safe bowl.
- Sprinkle a thin layer of baking soda on the floor; run a short hot cycle.
Quarterly:
- Check spray-arm holes. Clear blockages with a toothpick.
- Inspect the detergent drawer for caked residue.
Watch for: A foul smell at the door is almost always the gasket, not "the drain." Clean the gasket first.
Coffee maker (every 1–3 months by water hardness)
Limescale changes coffee taste before you notice it changed.
Drip coffee makers
- Fill the reservoir with equal parts water and white vinegar.
- Start the brew cycle. Pause it halfway, 30–60 minutes.
- Finish the cycle.
- Run 2–3 plain-water cycles to rinse.
Pod machines (Keurig, Nespresso)
Many manufacturers sell descaler — and only their descaler is warranty-safe. If you use vinegar (cheaper, works), accept the warranty risk.
- Empty the reservoir.
- Fill with the manufacturer's descaler solution (or 50/50 vinegar/water).
- Run brew cycles without a pod until empty.
- Rinse with 3 plain-water cycles.
Frequency: every 30 days for hard-water areas, every 90 days for soft.
Range hood and filter (monthly)
The most overlooked appliance — and a fire hazard when neglected.
- Remove the metal mesh filter (slides or pops out).
- Dishwasher it on the top rack, or soak in hot water + degreaser for 30 minutes.
- Wipe the underside of the hood with degreaser.
- Wipe the fan blades you can reach.
- Replace the filter only when fully dry.
Grease buildup in a range hood is the most common kitchen fire cause. Treat it monthly.
Toaster (weekly crumb tray, monthly wipe)
- Unplug. Cool fully.
- Pull the crumb tray; empty; wash in soapy water.
- Turn upside down over the sink or trash; shake firmly.
- Wipe the exterior with a damp cloth.
Never: Submerge. Stick metal inside. Use bread to "clean" the heating elements.
Toaster oven
- Unplug and cool fully.
- Pull racks and the crumb tray; wash in soapy water.
- Wipe the interior with a damp cloth; baking-soda paste on stuck spots.
- Clean the glass inside and out (the inside is a different cloth — grease).
Blender (after each use + monthly deep)
Quick clean:
- Fill halfway with warm water
- One drop of dish soap
- Run on high 30 seconds
- Rinse, dry
Monthly deep:
- Disassemble completely — base, gasket, blade assembly, pitcher.
- Hand-wash each part (gaskets warp in the dishwasher).
- Check for food trapped in the threads.
- Dry fully before reassembling — wet gaskets grow mildew.
Stand mixer
- Unplug.
- Wipe the motor head with a damp cloth. Never submerge.
- Wash attachments per the manual — some are dishwasher-safe, some are not.
- Wipe the attachment hub (food drips here when mixing).
- Wipe the base and cord.
Garbage disposal
Weekly freshening:
- Run cold water
- Drop in a handful of ice cubes and 1 tbsp salt
- Run the disposal until quiet
- Add citrus peels (orange or lemon) and run again briefly
Monthly:
- ½ cup baking soda down the drain
- 1 cup white vinegar
- Foam for 10 minutes
- Flush with hot water while running the disposal
Skip: Bleach. It damages the rubber baffle.
A clean-cadence reference
| Appliance | Cadence | |-----------|---------| | Refrigerator interior + coils | Every 3 months | | Refrigerator gasket | Monthly | | Oven interior | Every 3–6 months | | Microwave (steam clean) | Weekly to monthly | | Dishwasher filter + gasket | Monthly | | Coffee maker descale | Every 1–3 months | | Range hood filter | Monthly | | Toaster crumb tray | Weekly | | Garbage disposal freshen | Weekly | | Garbage disposal deep | Monthly |
When to hand it off
Appliance deep work is often the bulk of a deep clean — interiors, gaskets, range hood, coils. A two-person team handles it in 60–90 minutes for a typical kitchen, in the same visit as a top-to-bottom kitchen reset.
Book a deep clean, browse vetted cleaners, or read the FAQ. For the full kitchen sequence in the context of a whole-home reset, see the deep cleaning guide.